Sample Tutorial
Lead Through Teaching with Teach Pendant:
|
Note:
Hyperlinks will work when it is viewed from the tutorial system.
|
Advantages
of lead through teaching vs. importing scanned images.
1- Not restricted
to drawings or pictures that will fit on a scanner bed.
2- No need
to task swap between programs to correctly format data.
3- Quickly
and easily program complex or geometric forms.
4- Allows programing
of original artwork in any size desired.
5- Easily reproduce
existing artwork or part forms.
6- Very short
learning curve, no previous programming experience required!
7- Maximize
material utilization.
Lead Through Teaching:
To begin, Connect the teach
pendant to the DB-15 connector on the back of the controller.
Click on the teach button "T"
on the side tool bar in the software.

Set your jog
speeds by left clicking on the appropriate button on the bottom
of the screen and then entering the value you want. Click OK.
A slow speed of 10 and a high speed
of 125 work very well for most applications.

The left button on the teach pendant
is the speed change button. Pushing this button will toggle between the
two selected speeds.
Click the "ACTIVE" button
on the bottom of the screen. The pendant is now active.
The right button on the teach pendant
adds a new point to the G-code. Pressing
this button will write the current torch position to the next line in code.
If desired, press <CTRL-P>
to bring up the D.R.O. display window.
This brings up a large digital read out window to display the current X
and Y positions. This will allow you to read the exact torch position while
using the teach pendant.

Moving the joystick
will jog the machine at the set jog speed. Push the left teach pendant
button to toggle between the set speeds.
Position the torch over the pattern
you are tracing and press the right button for each new point you want
to add. You can tape a scribe or other pointing device to the torch or
use our optional laser pointer for
more precise positioning.
Take a minute to look over the part
you are tracing and determine cut order and start and end points. It is
generally best to cut the interior features first and move on to the outer
perimeter last. This helps prevent the material from moving during the
cutting process. You can also program your lead
in/out points during lead through teaching. As each successive
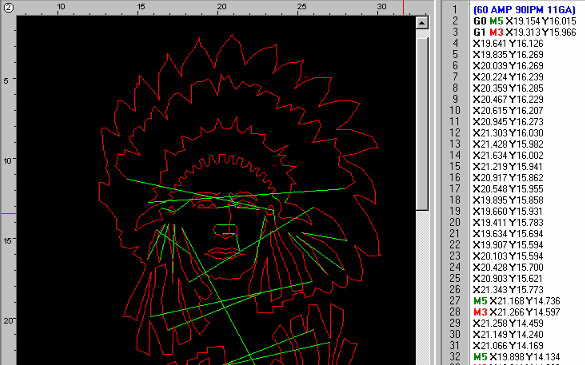
point is added it will show on the screen.
After you have taught all positions,
save the file. <CTRL-S>
Turn off the D.R.O. display. <CTRL-P>
and bring up the G-code editor screen.
<CTRL-E>

Left click the editor window to
place the cursor on any line and scroll up to line number one. You will
notice as you scroll up and down the list in the editor window that the
crosshair in the main screen window
follows the coordinates in the G-code editor.
You can now set the tool
path speeds and torch on/off commands
to your G-code. |

